In this post, learn how to livestream like the pros using open source software that won’t cost you a penny (FREE!). In this post we focus on a more basic setup, one that would work great for pod casting or other small scale livestream scenarios. Below is a list of everything you will need to complete the setup along with a how-to for getting it all installed, configured, and ready for your livestream.
List of Software:
- OBS Studio
- OBS Background removal plugin (Optional)
List of Hardware:
- Webcam
- Wired or Wireless headset or conference room mic
Installing the Software
Step 1: Download and Install OBS Studio
- Go to https://obsproject.com/download
- Download the version for your system, be it a Windows computer or Mac
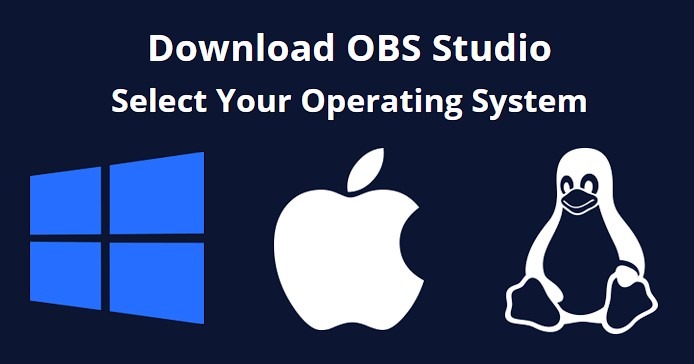
3. Run the installer and click allow on the prompt to run as administrator

4. Follow the prompts to install the software
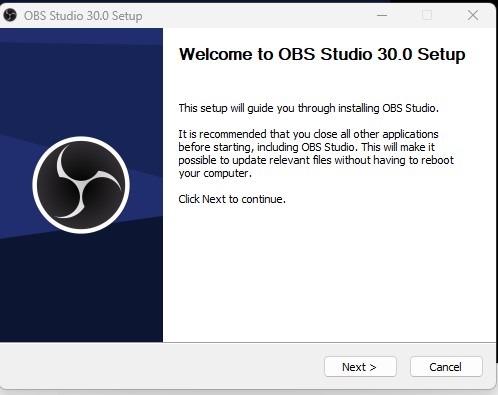
5. Uncheck the box to open OBS, we are going to install the background removal plugin first prior to opening
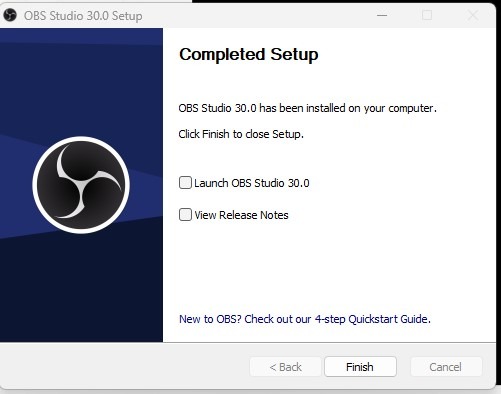
Step 2: Download and Install OBS Background Removal Plugin
1. Download the OBS Background Removal Plugin by going to https://obsproject.com/forum/resources/background-removal-virtual-green-screen-low-light-enhance.1260/
2. Click on Go to Download in the upper right

3. Scroll down the page and find the 64 bit installer for your system, be it for windows or macos and click to download it
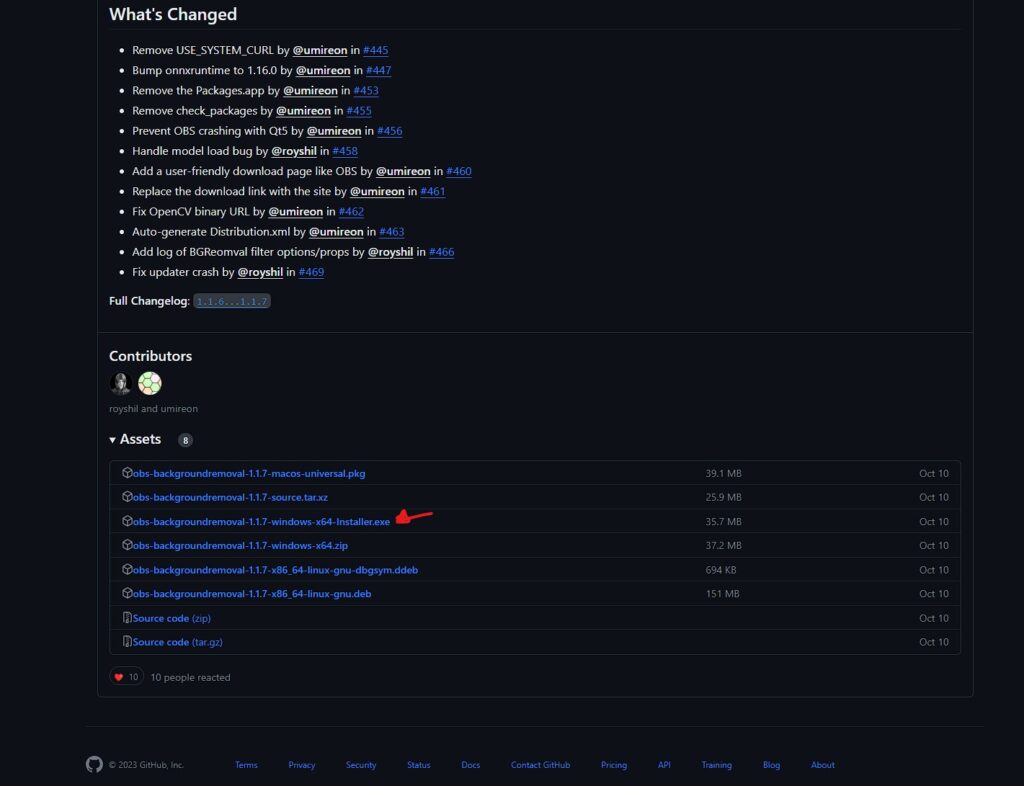
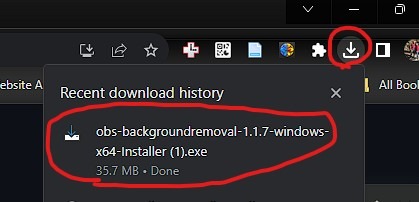
4. Once downloaded, click it to run the installer
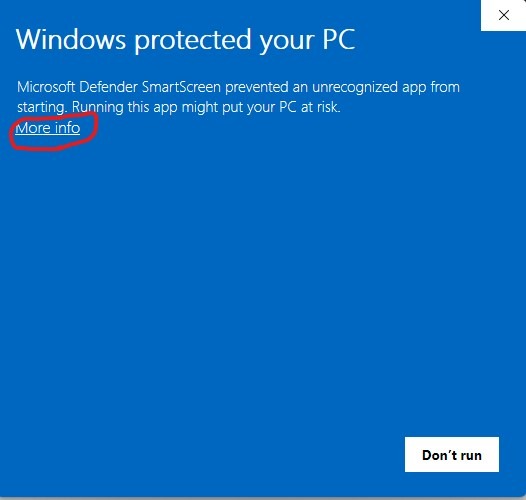
5. When the windows protection window appears, click on More info
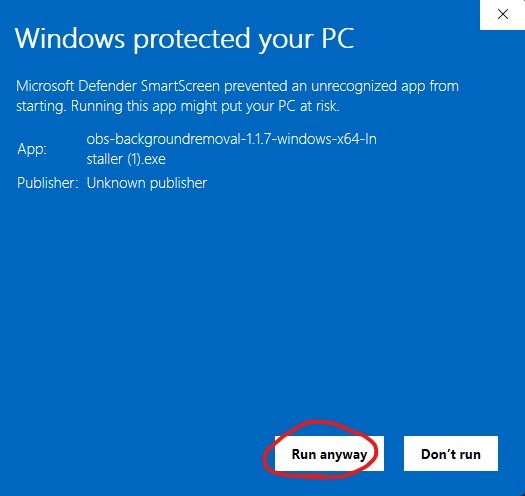
6. Click on Run Anyway
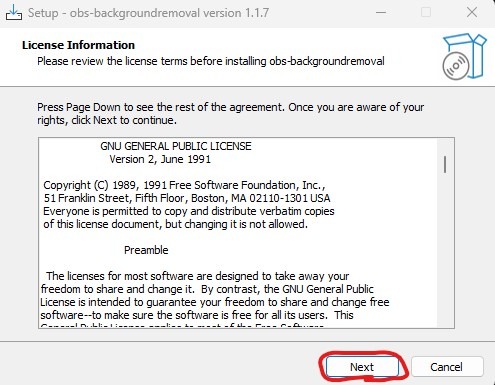
Follow the prompts by clicking next through the install
Configure Facebook Live
- Browse to https://facebook.com
- Click on the Live Video button option for a new post

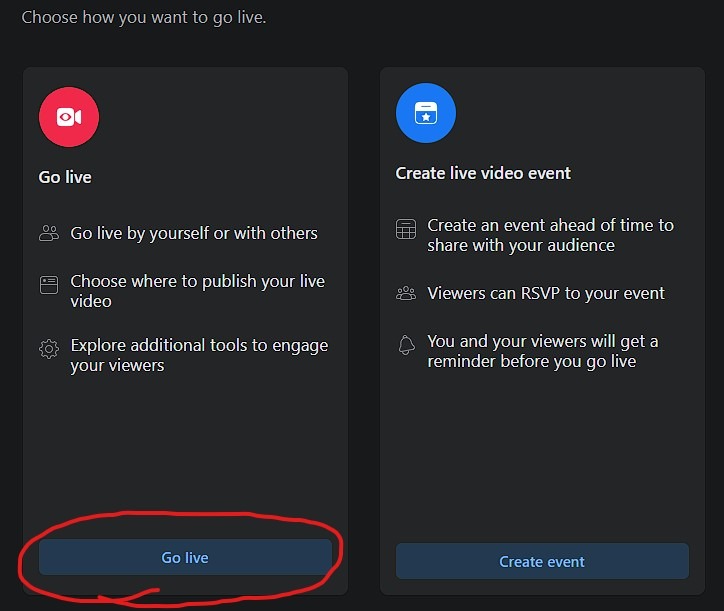
3. Choose the Go Live option
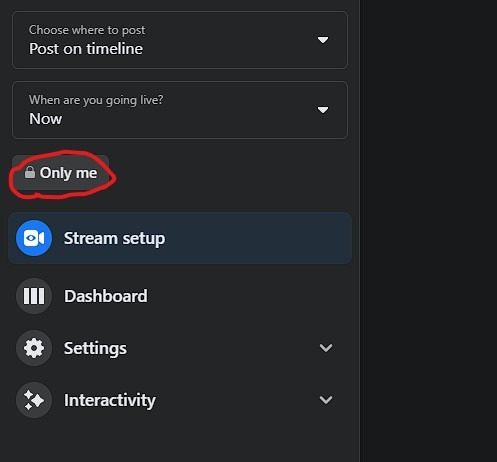
4. Set your privacy permissions to only me as shown
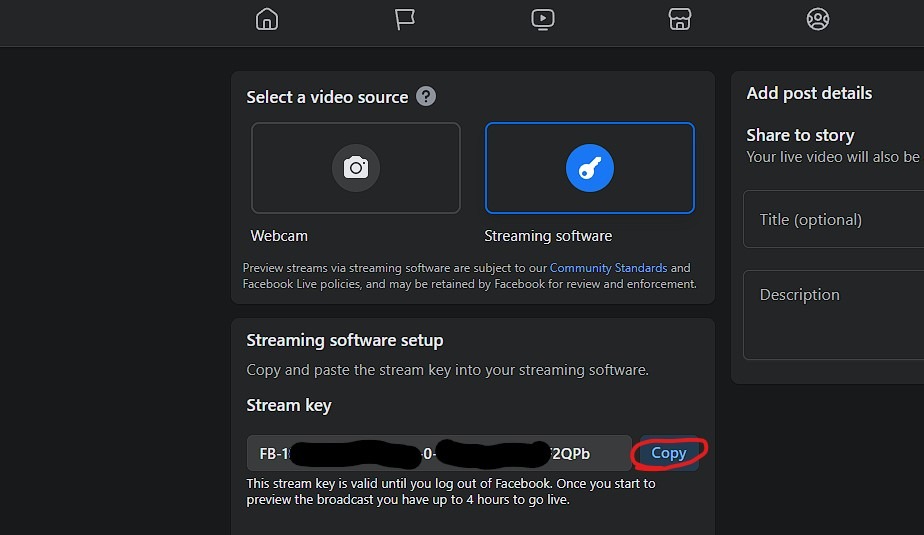
5. Copy the stream key that Facebook gives you, this is usually located near the center of the page
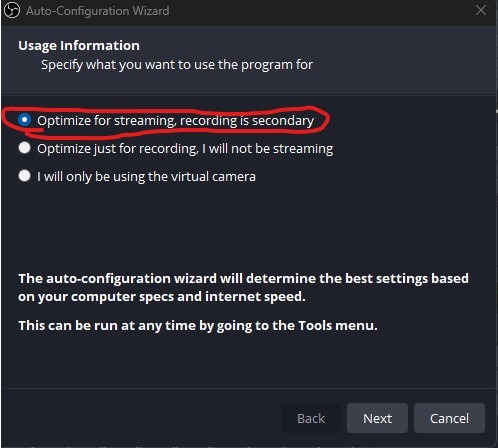
6. Open OBS Studio and choose the option to optimize for streaming, recording is secondary
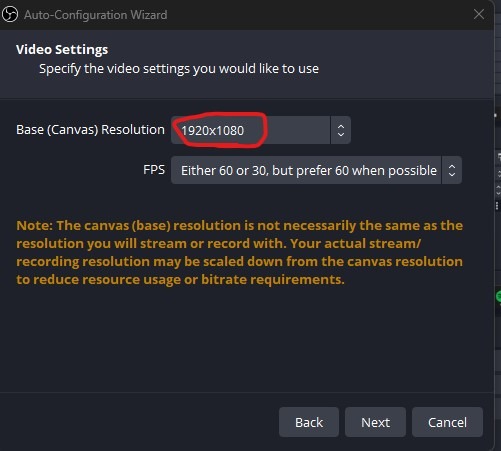
7. Set base canvas to 1920×1080 and click Next
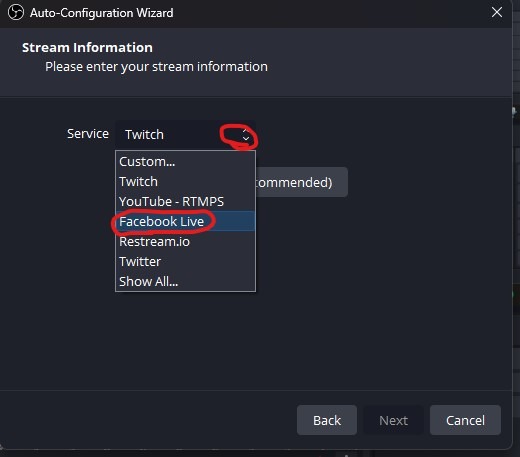
8. Set the type to Facebook live as shown
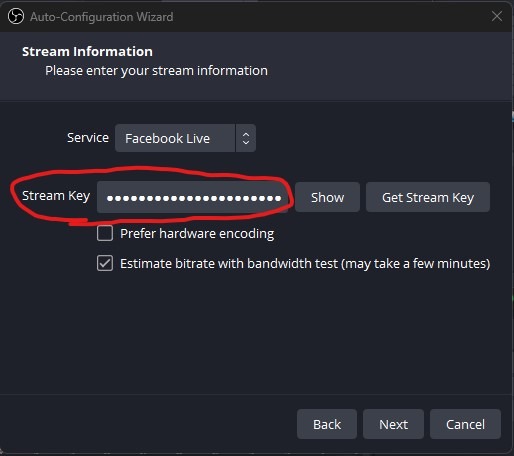
9. Paste in the livestream key and click Next
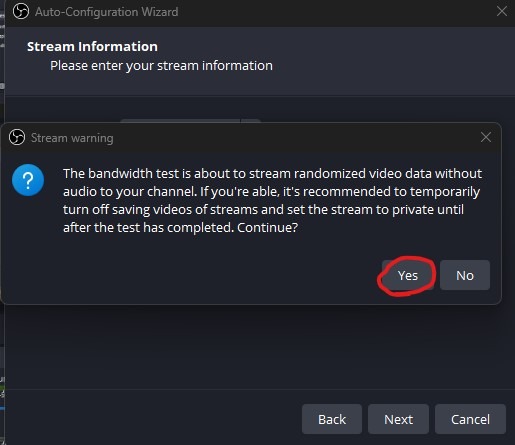
10. You will be prompted to start the bandwidth test, click Yes to do so (this will test your upload speed and optimize settings based on the results)
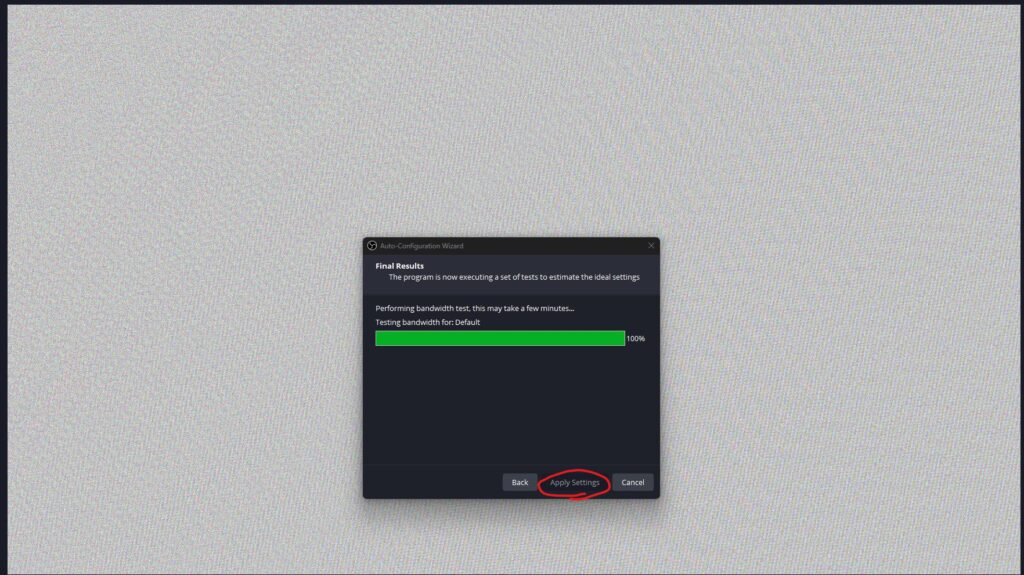
11. When the test is complete, click on Apply Settings
Configure OBS Scene
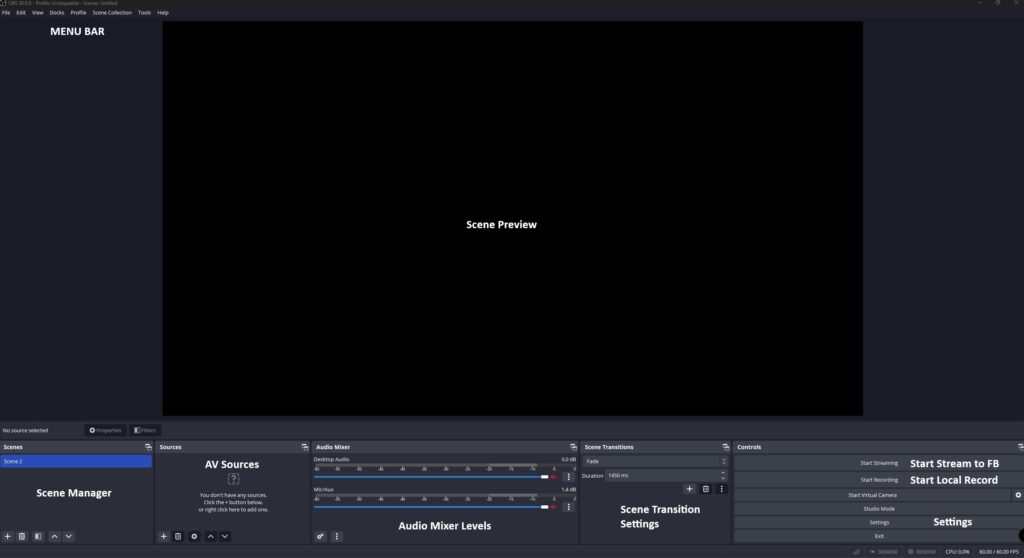
- Familiarize yourself with the OBS Interface
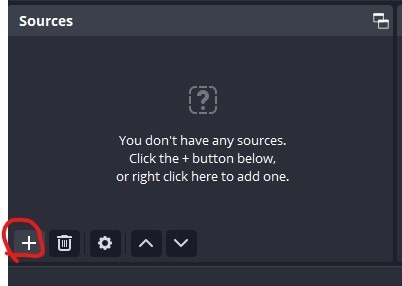
2. Add your first source by clicking the plus sign in the AV Sources area
3. Select Video Capture Device
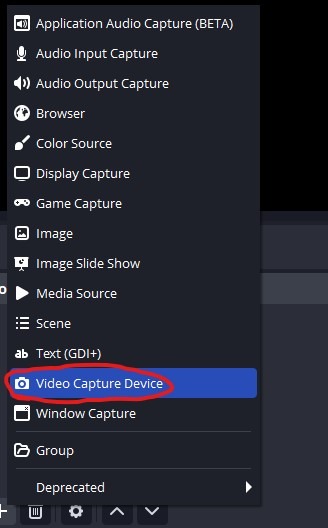
4. Give your source a name that is descriptive and click OK
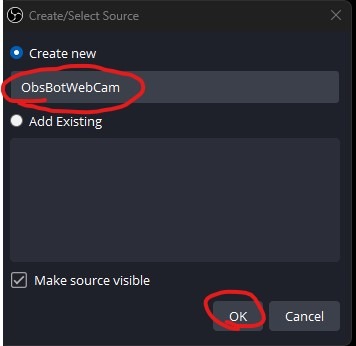
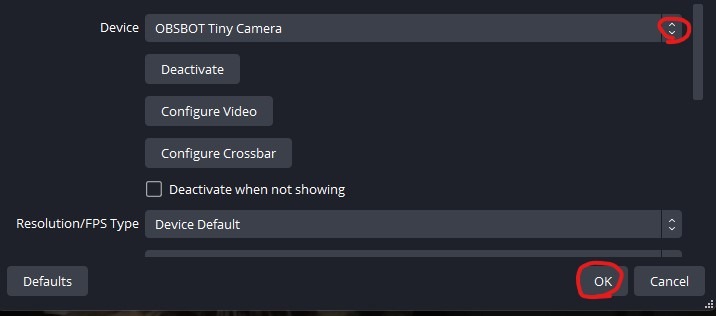
5. Select your device and click OK
6. Click the Plus sign again and add an Audio Input Capture device
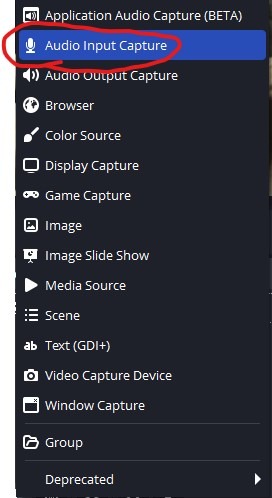
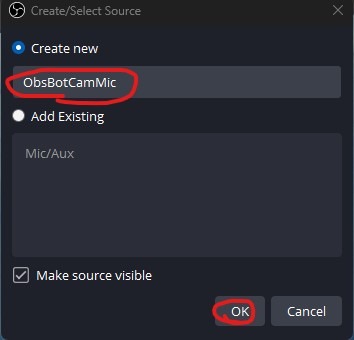
7. Give the input a descriptive name and click OK
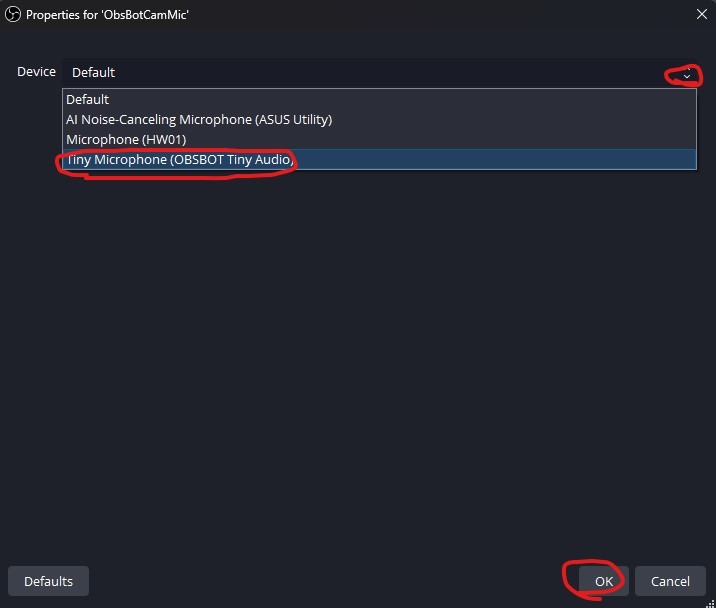
8. Select the mic input you want and click OK
At this point you have done the minimum to go-live with OBS Studio on Facebook, now all you have to do is click Start Streaming. Continue below for the optional background removal plugin filter option.

How to Use the OBS Background Removal Plugin
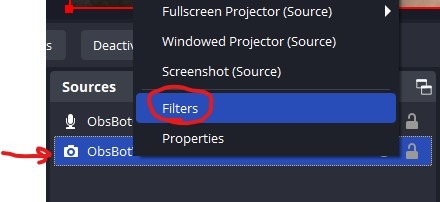
- Position the mouse over the camera source you added, click the right mouse button and then click Filters
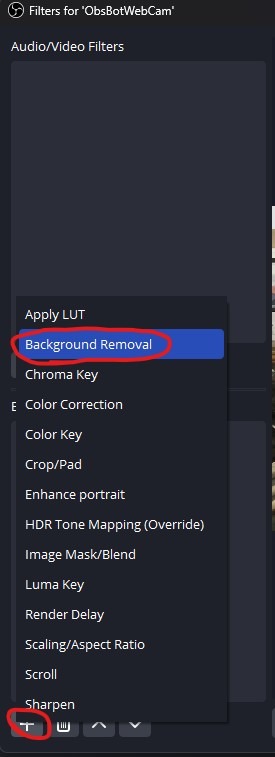
2. Under the Filter section, click the plus sign to add the Background Removal filter
3. Set the filter settings as shown (the below settings work well for me), always use GPU if you have one available and the more CPU threads you can throw at it the better, just don’t exceed 75% of your available CPU threads.
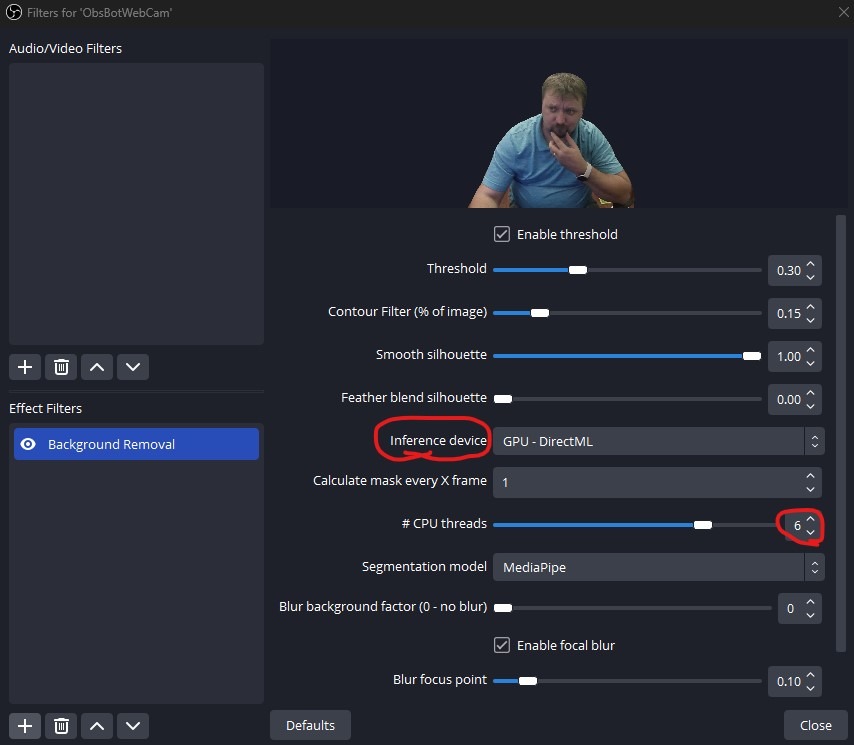
Click close and your done! I hope this has been helpful for you, be sure to join our community to subscribe and feel free to share with others!

